Minecraft is a very popular game that allows you to play alone or with friends. If you want to play with friends, though, you’ll need to play on the same server. You can set up your own server at home, but this can prove challenging for some people.
Running a server from your home not only requires specific hardware dedicated to keeping your server running, but it also exposes you to network vulnerabilities and server management challenges that you must consider.
If you want your own server, but lack the hardware and/or don’t want the challenges that come with it running your own, consider using a third-party server hosting company to handle that for you.
Please note: We recommend getting a parent’s permission before setting up a new server. You will need a credit card to complete this tutorial. Only share your server IP with known, trusted contacts.
How to Make a Minecraft Server Using Server Hosting
Requirements
- A PC capable of running Minecraft (Chromebook requires Linux setup)
- Your Minecraft username/password
- Minecraft Java Edition or Minecraft Bedrock Edition (version is depending on which server settings you choose)
- A credit card
There is currently no cross-platform interaction between Java Edition and Bedrock Edition of Minecraft. This means if you’re using Java Edition on your PC you will not be able to play with your friends on the Xbox, Playstation, or Switch. If you want to allow for crossplay between PC and Xbox then you will need to specify the Minecraft edition as Bedrock Edition when setting up your server.
What is a Minecraft Server Hosting Company?
A Minecraft server hosting company allows you to run and manage your own server with as little work as possible. These companies use their own hardware, so you don’t need your own dedicated computer to run it and it can take as little as five minutes to set up.
Benefits of Using Server Hosting
- DDoS protection – DDoS (or distributed denial-of-service) are attacks that flood your network in order to slow or crash your server
- Automatic backups – ever afraid of losing everything you have built in Minecraft? Backups help prevent this and many hosting companies offer this service
- 24/7 support – Sometimes trying to run your own server will bring along unexpected problems. You’ll have professionals who can help handle those problems for you every hour of the day
- No hardware needed – One of the drawbacks of hosting your own server is needing the hardware to support it. Hosting companies use their own hardware so you don’t need anything!
Recommended: Best Minecraft Texture Packs
Things to Consider Before Choosing a 3rd Party Minecraft Server Host
At this point you’re probably thinking, why would I ever want to run my own server when I could have someone else run it for me? And that’s a fair question!
The number one thing that prevents people from using a third-party is because it costs money.
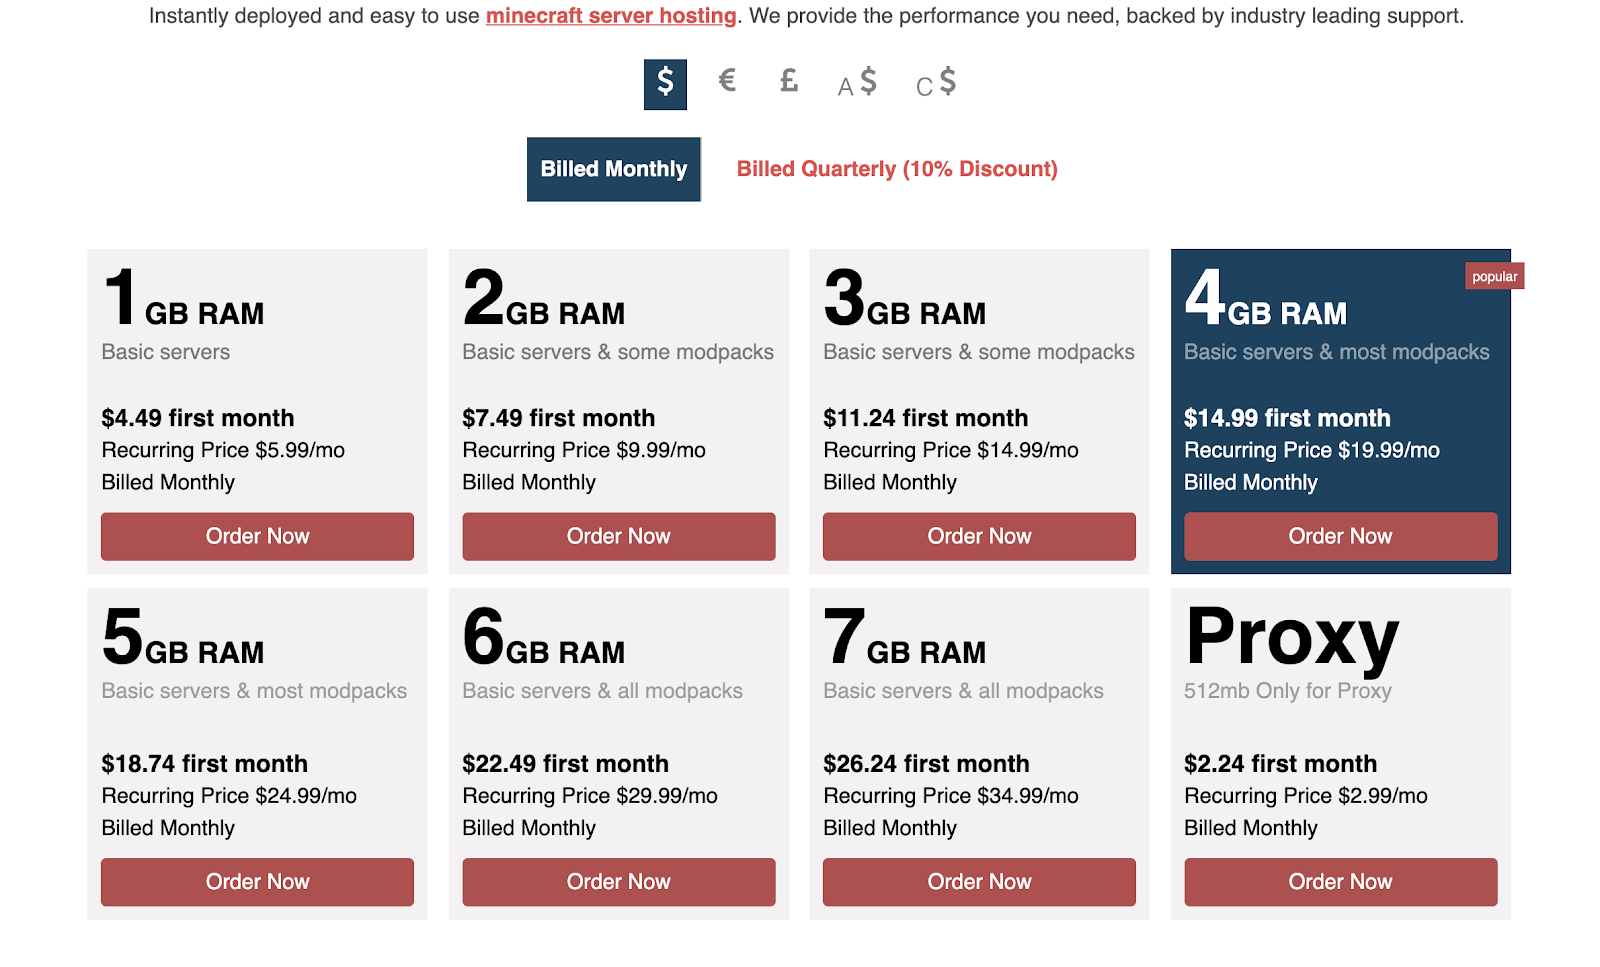
Usually, you’ll pay a monthly fee, but some companies will offer a discount depending on how many months you pay for at one time. The price can also vary depending on who you use and what package you decide on. We will get into more details on packages shortly. The good news is, you can pay as little as $5.00 a month for something that may be suitable for you.
Most Popular Minecraft Server Hosting Providers
If you Google “Best Minecraft Server Hosting Provider” you’ll find a lot of articles with many different choices to choose from. You’ll often see recommendations for:
While they are different companies, they all offer to host a server for you. This article focuses on one of our favorite hosting companies, Apex Server Hosting, because of their low-price, easy and quick set-up, and 24/7 technical support.
Steps for Creating a 3rd Party Minecraft Server
1. Select a Pricing Plan
Go to https://apexminecrafthosting.com/pricing/ and pick the plan you want. You can always upgrade your plan later, so we recommend starting with a lower price and only upgrading when you need to.
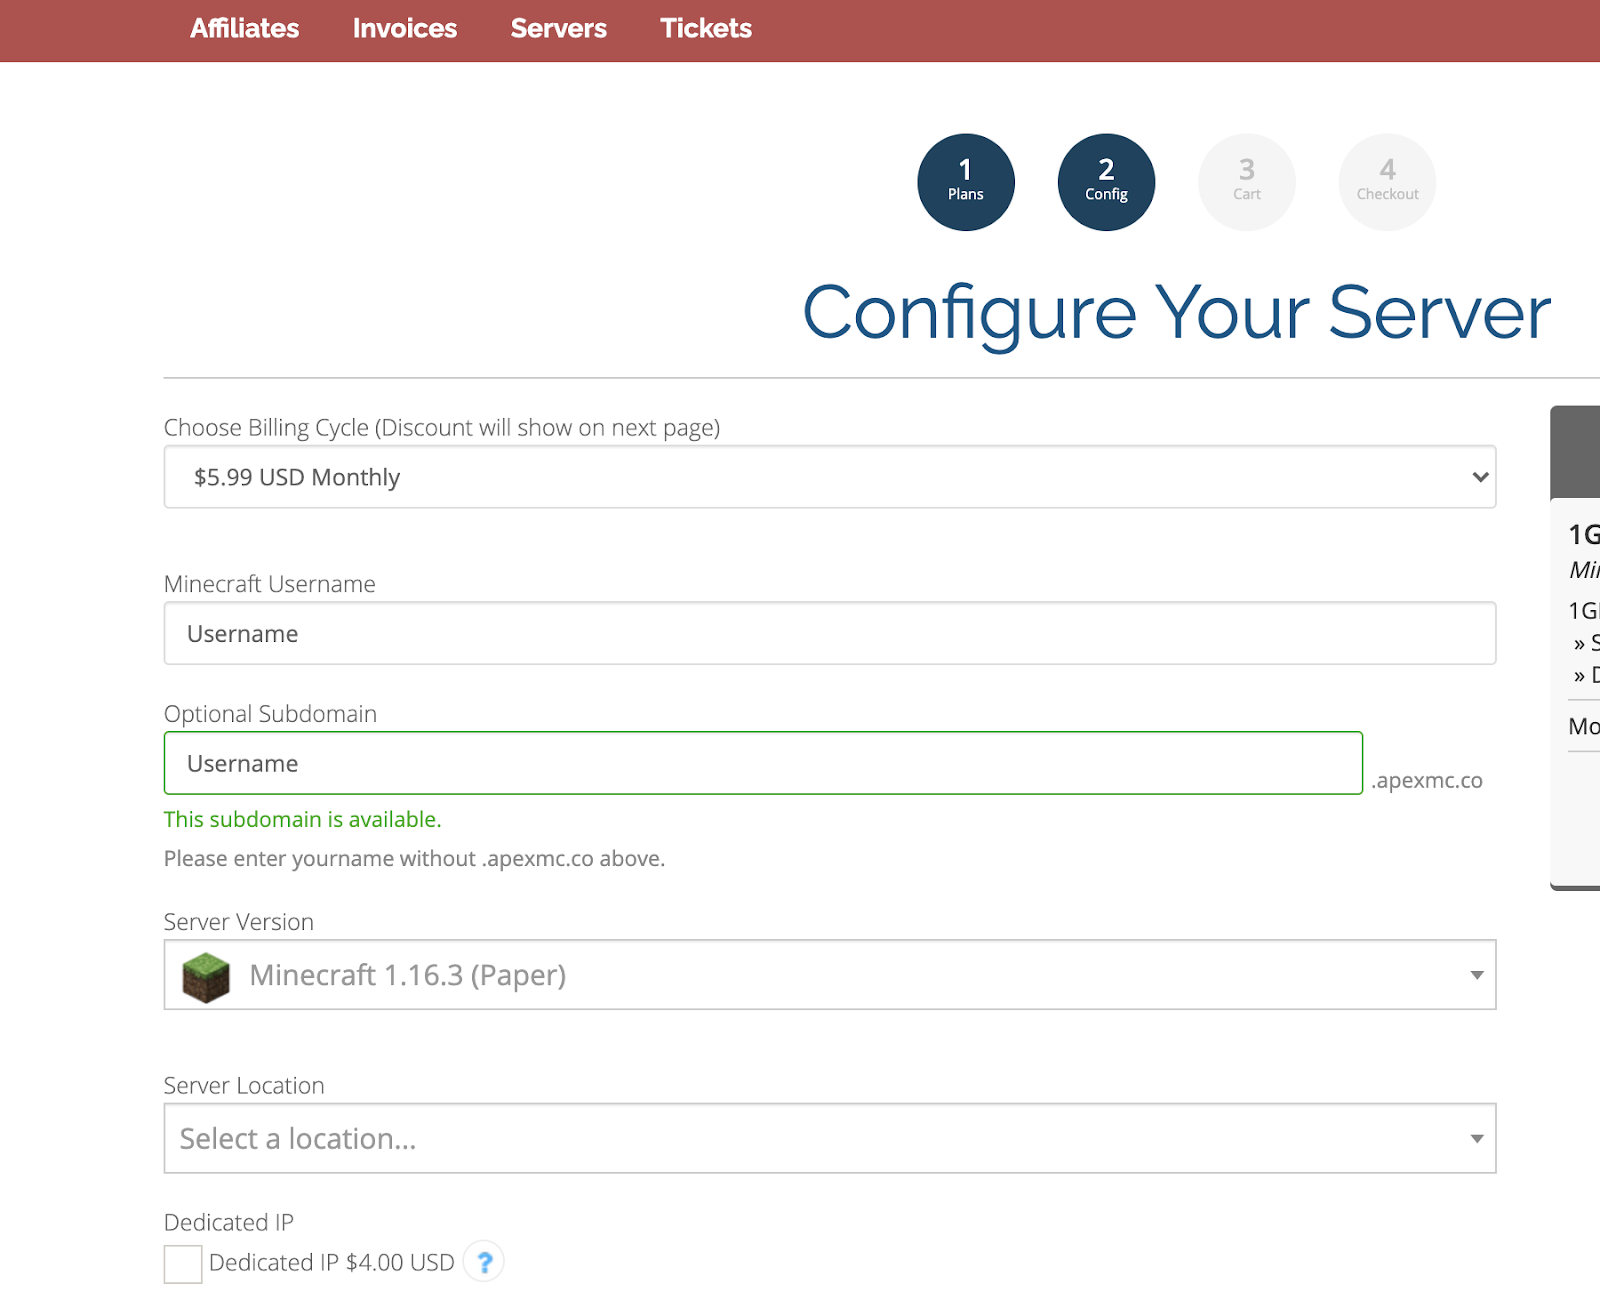
2. Order and Specify Minecraft Version
After clicking on “Order Now” you’ll have the option to fill out your Minecraft username if you have one.
If you are playing Minecraft on the console (such as the Xbox) then you may not have a Minecraft username. You can either fill in your Microsoft Account name or leave it blank.
The second section, while optional, is recommended because it gives you your own domain so your friends can get to your server easier. Remember this optional domain name for logging onto your server later! If you want, you can add a dedicated IP as well as some additional support here, but it’s not necessary.
You can choose any server version that you’d like, however, we recommend using the latest version of Minecraft that is currently out.
Note: This is also the step where you specify which Minecraft Edition you want your server to be hosted on. If you are looking for the Bedrock edition, scroll down until you see “Bedrock Dedicated Server” under “Server Version”.
3. Select the Server Location Closest to You
One of the most important parts here is the “Server Location” section. Have you ever connected to WIFI in your home only to see it struggle to connect the farther away you get? A server works the same way.
You want the server to be hosted as close to you as possible, so make sure you read through your options. Apex offers a free “ping” that you can test each server with if you’re unsure which location is the closest. You want the lowest number you can get for a more satisfying gameplay experience.
4. Continue Past Support Options
The last section of this screen gives you options to enhance your support. Each option is optional and not necessary. We recommend not opting in at the beginning while you are still learning how to set up your first server. In the future once you have a better understanding of how Apex server’s work you may choose to go back and purchase these. For now, click the “Continue” button to move onto the next step.
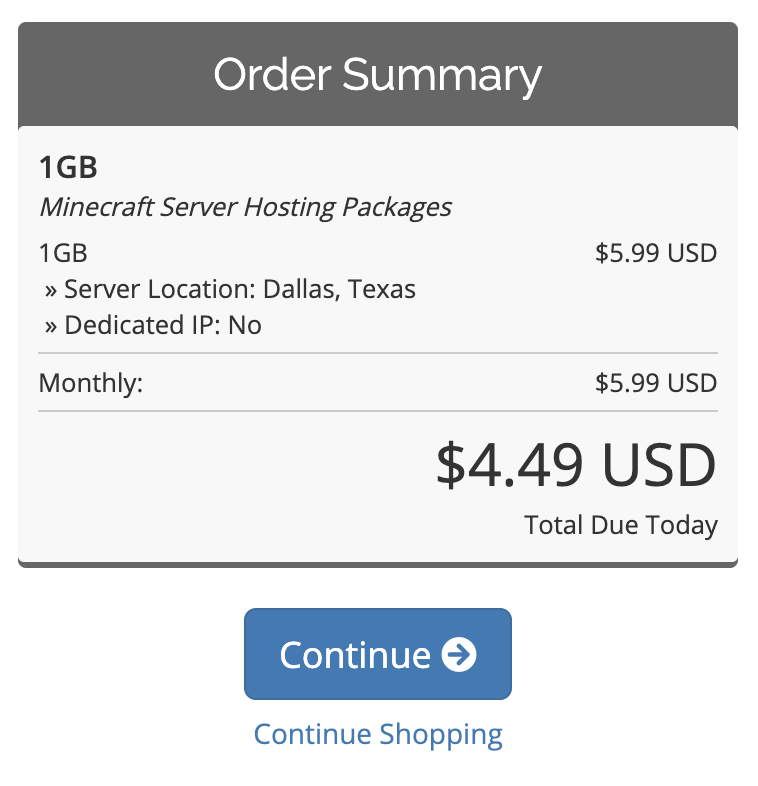
5. Complete Checkout and Payment
The last two sections will allow you to complete your checkout and make your payment. Note, you must be at least 18 years old to finalize everything. So, if you’re under that age please get a parent to help you. When you finish you should see a confirmation message that looks like this.

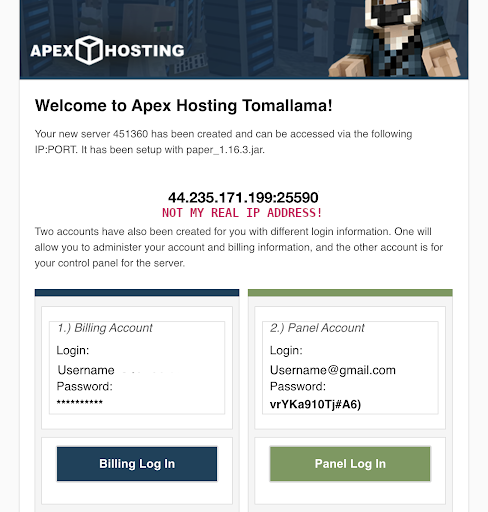
6. Receive Confirmation Email with Login
Go ahead and check your email! You should see a confirmation email with some login information.
7. Your Server is Running!
And that’s it! You now have a running server! Don’t believe me? Test it yourself!
Testing and Logging Into Your Server
- Open up Minecraft and verify you have the same version installed as the server type you created above. If not, download the correct version. You can verify which version of Minecraft you have installed by looking at the Minecraft launch screen.

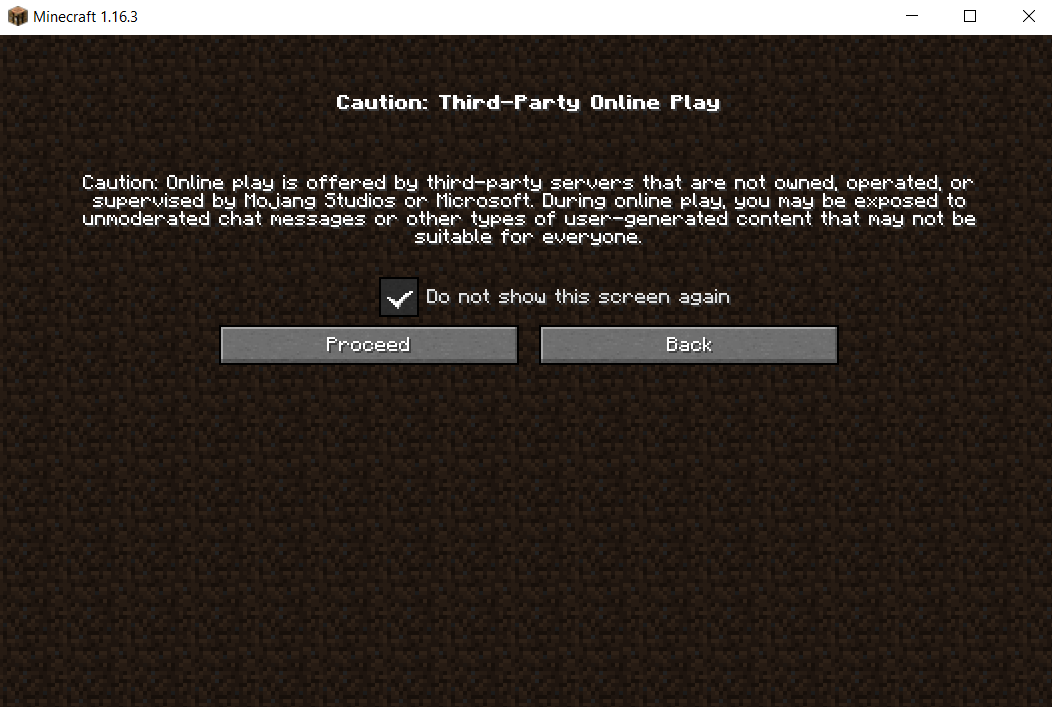
- After clicking “Play”, click the multiplayer section. You may see a popup that alerts you about using “Third-Party Online Play”. This just means Minecraft is not responsible for what goes on in the server. Read the text, and click “proceed”.
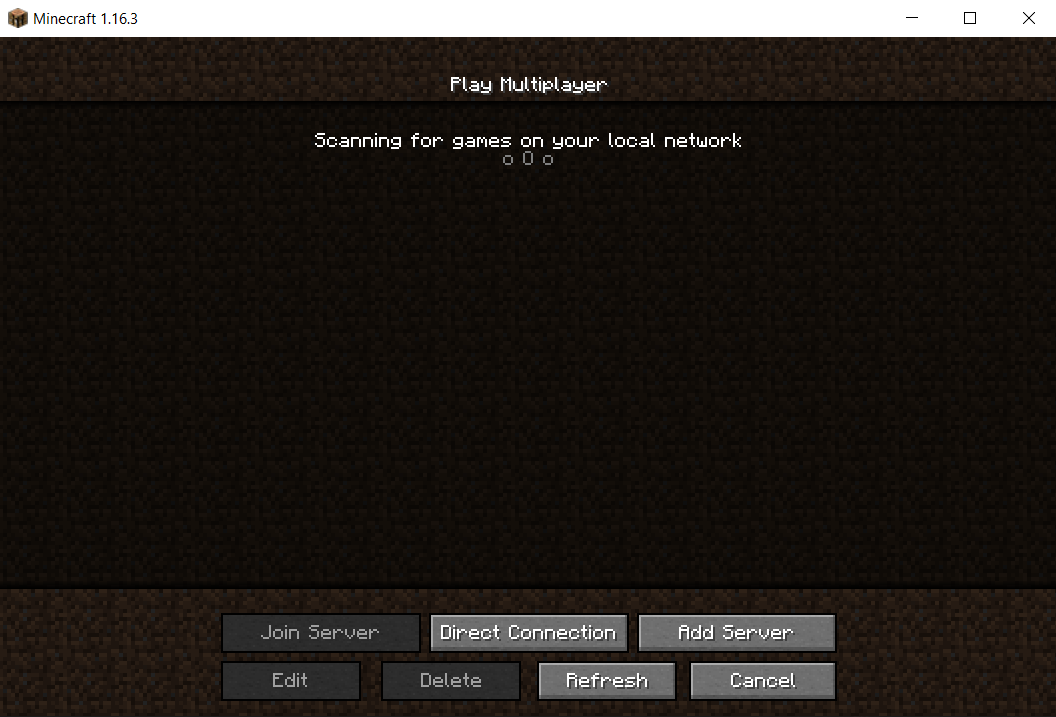
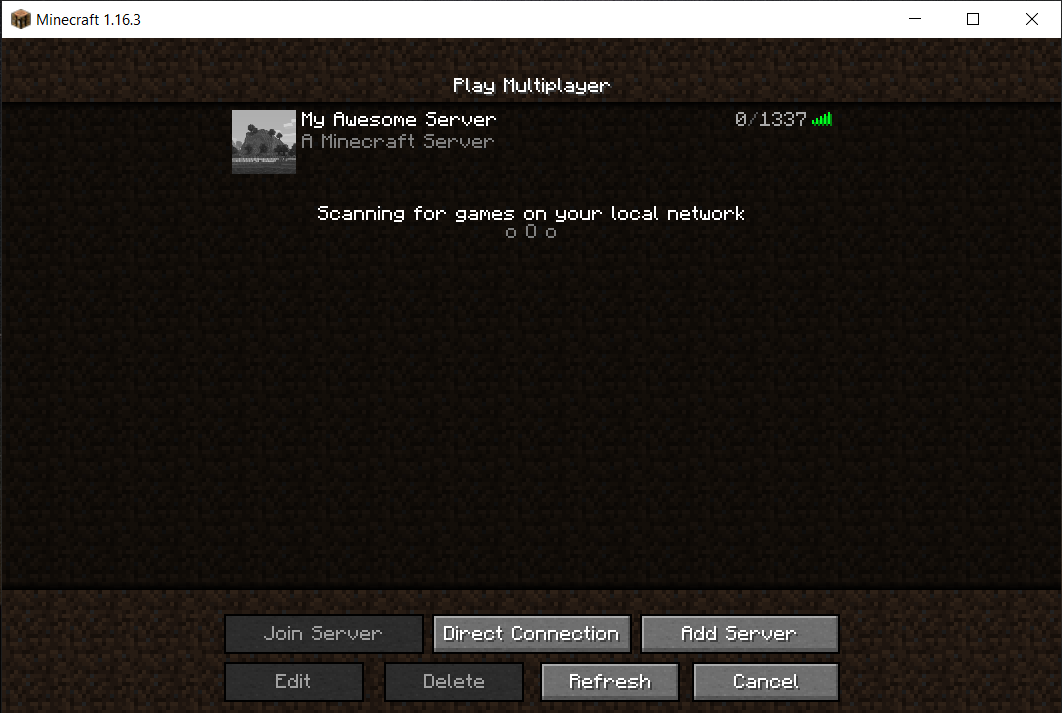
- On this screen, you’ll see a list of all servers you’ve added, or an empty list if you haven’t added any yet. Go ahead and click “Add Server”. We are almost done!
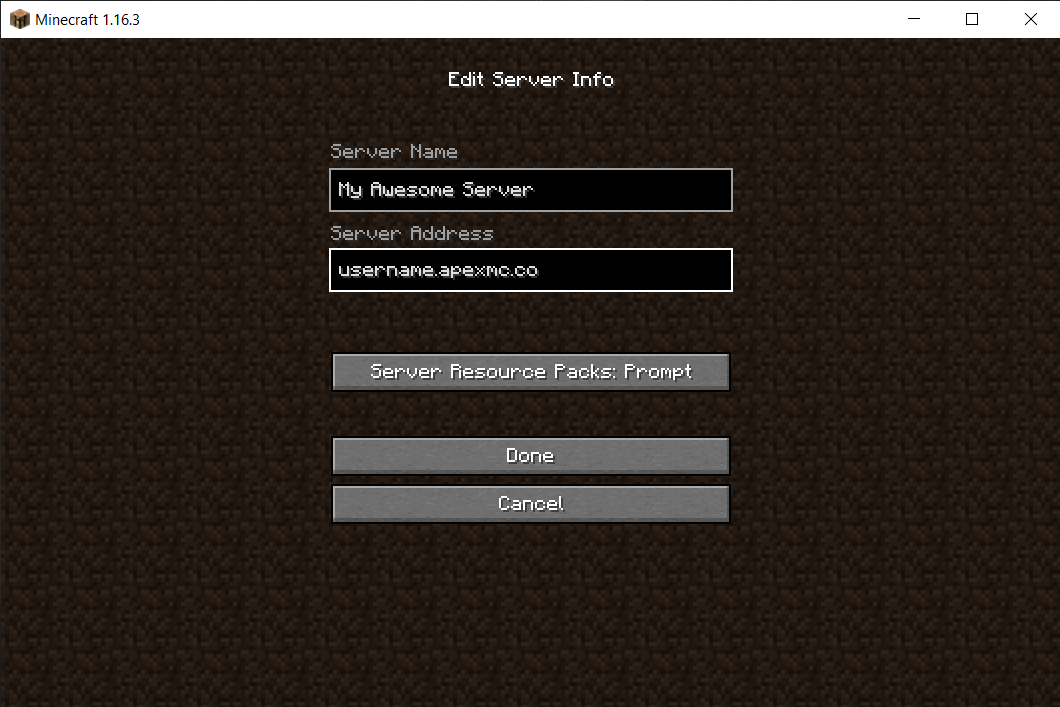
- You have two options on how this next part is done. First of all, you’ll need to give your server a name. This can be anything you want. It’s for your eyes only. The “Server Address” is the important part. Remember the “Optional Domain” that you checked off when purchasing a subscription? You can just type that into ‘Server Address’. It should be something like yourusername.apexmc.co. If you didn’t get the optional domain, just add the IP address that was given to you in your email.
5. Congratulations! That’s all you need to do. You should be able to see your server listed. If you want anyone to join your game, you just need to tell them to download the same version of Minecraft as you as well as provide them with your ‘Server Address’.
What Can You Do With Your Own Server?
Now that you have your own server, what can you do with it? Quite a bit, actually. Check your email one more time and search for the email we looked at earlier. Click the “Panel Login” button and let’s discuss some powerful tools Apex gives us to manage our server.
1. Turn Your Server On and Off
First things first, although nothing fancy, is being able to turn off your server and restart it in case there is ever an issue. You can do this by clicking these buttons on the home page. Note that if you stop your server, it will kick everyone off who is online, including you!

2. See Players On Your Server
Next, if you scroll to the bottom, you can see a list of players that are currently playing your server.

3. Send Server Messages & Kick Players
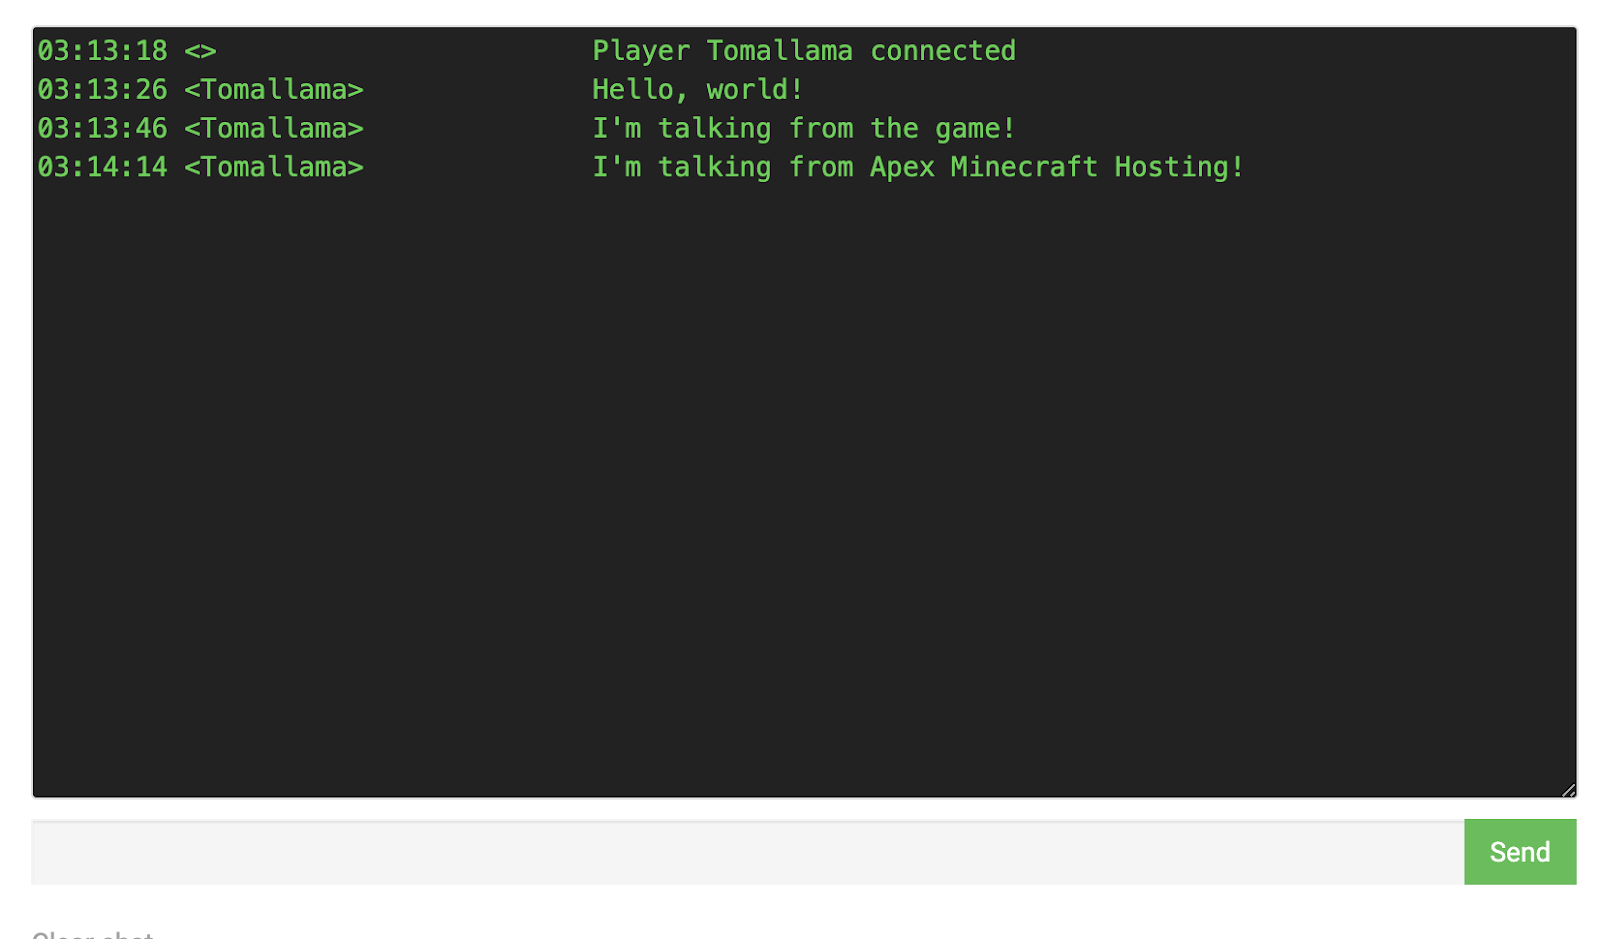
Take a look at the sidebar to the left. Click on “Chat” at the very top. Here you can send server messages for all players to see as well as see messages that they send! You can also kick players from your server on this screen if you feel the need.
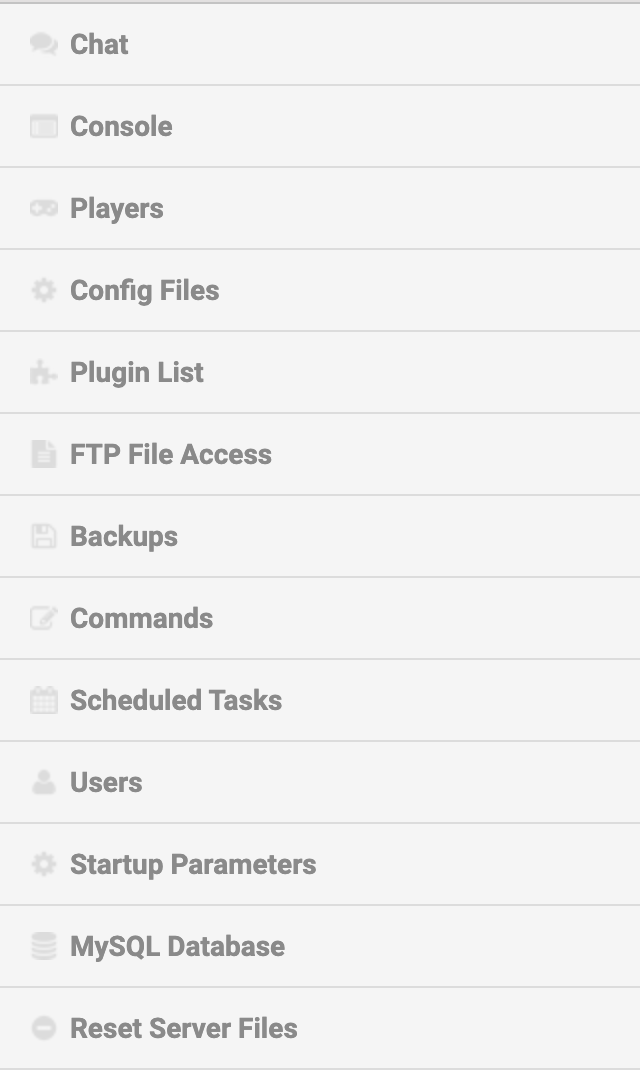
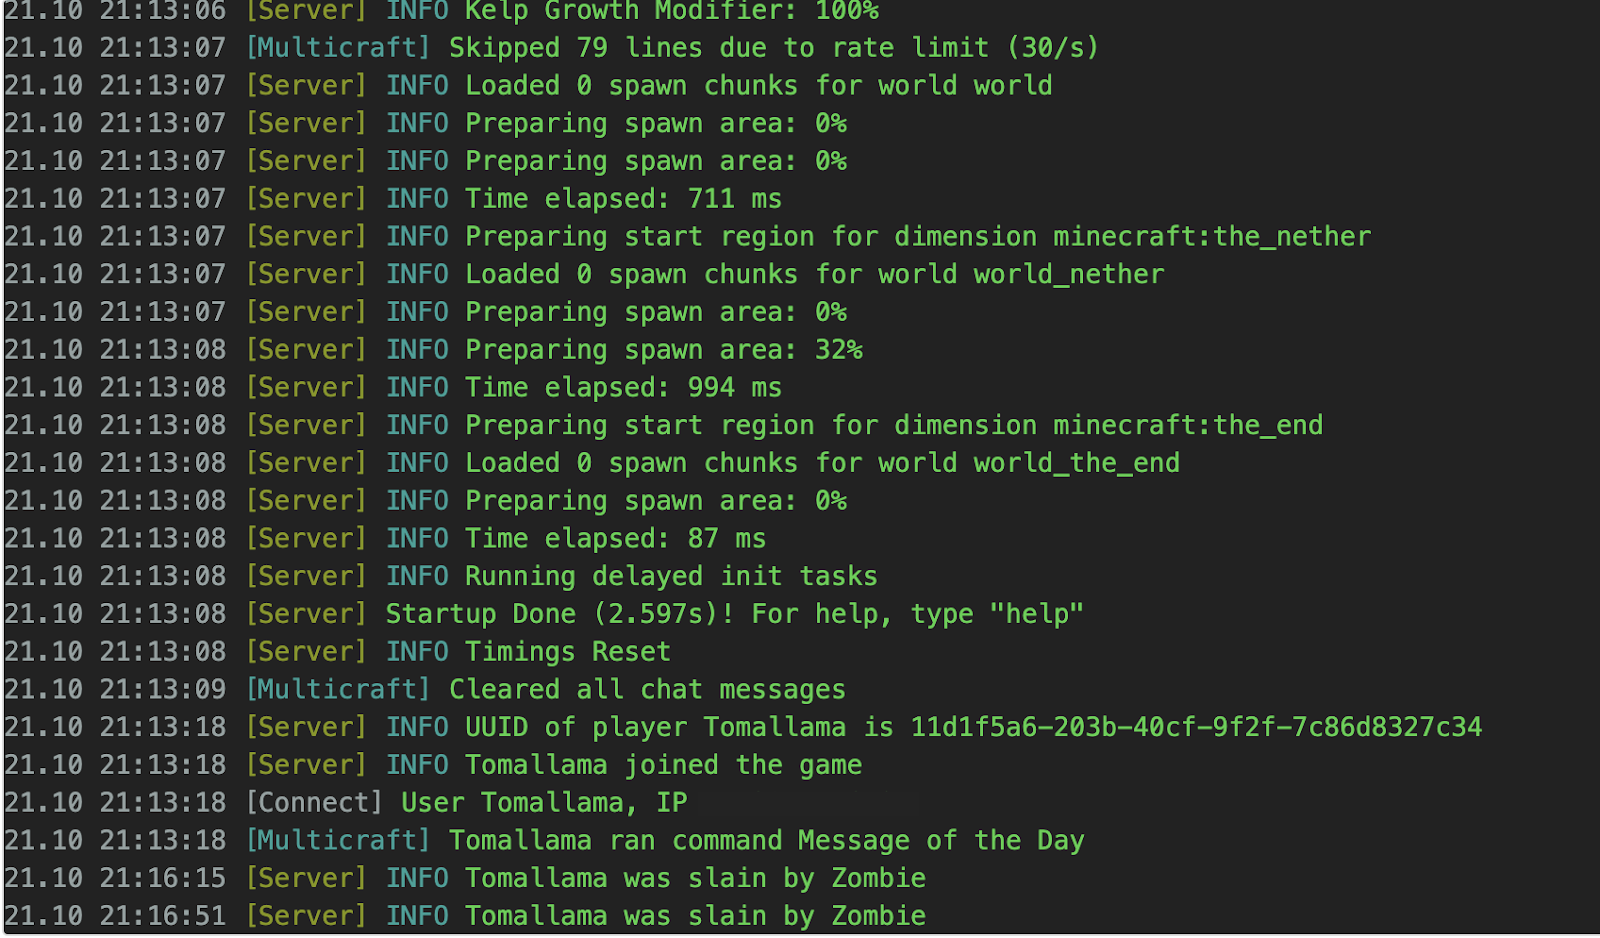
4. View Your Server Console
Clicking on the “Console” tab gives you a lot of information about your server and its settings. You probably won’t use this section too often.
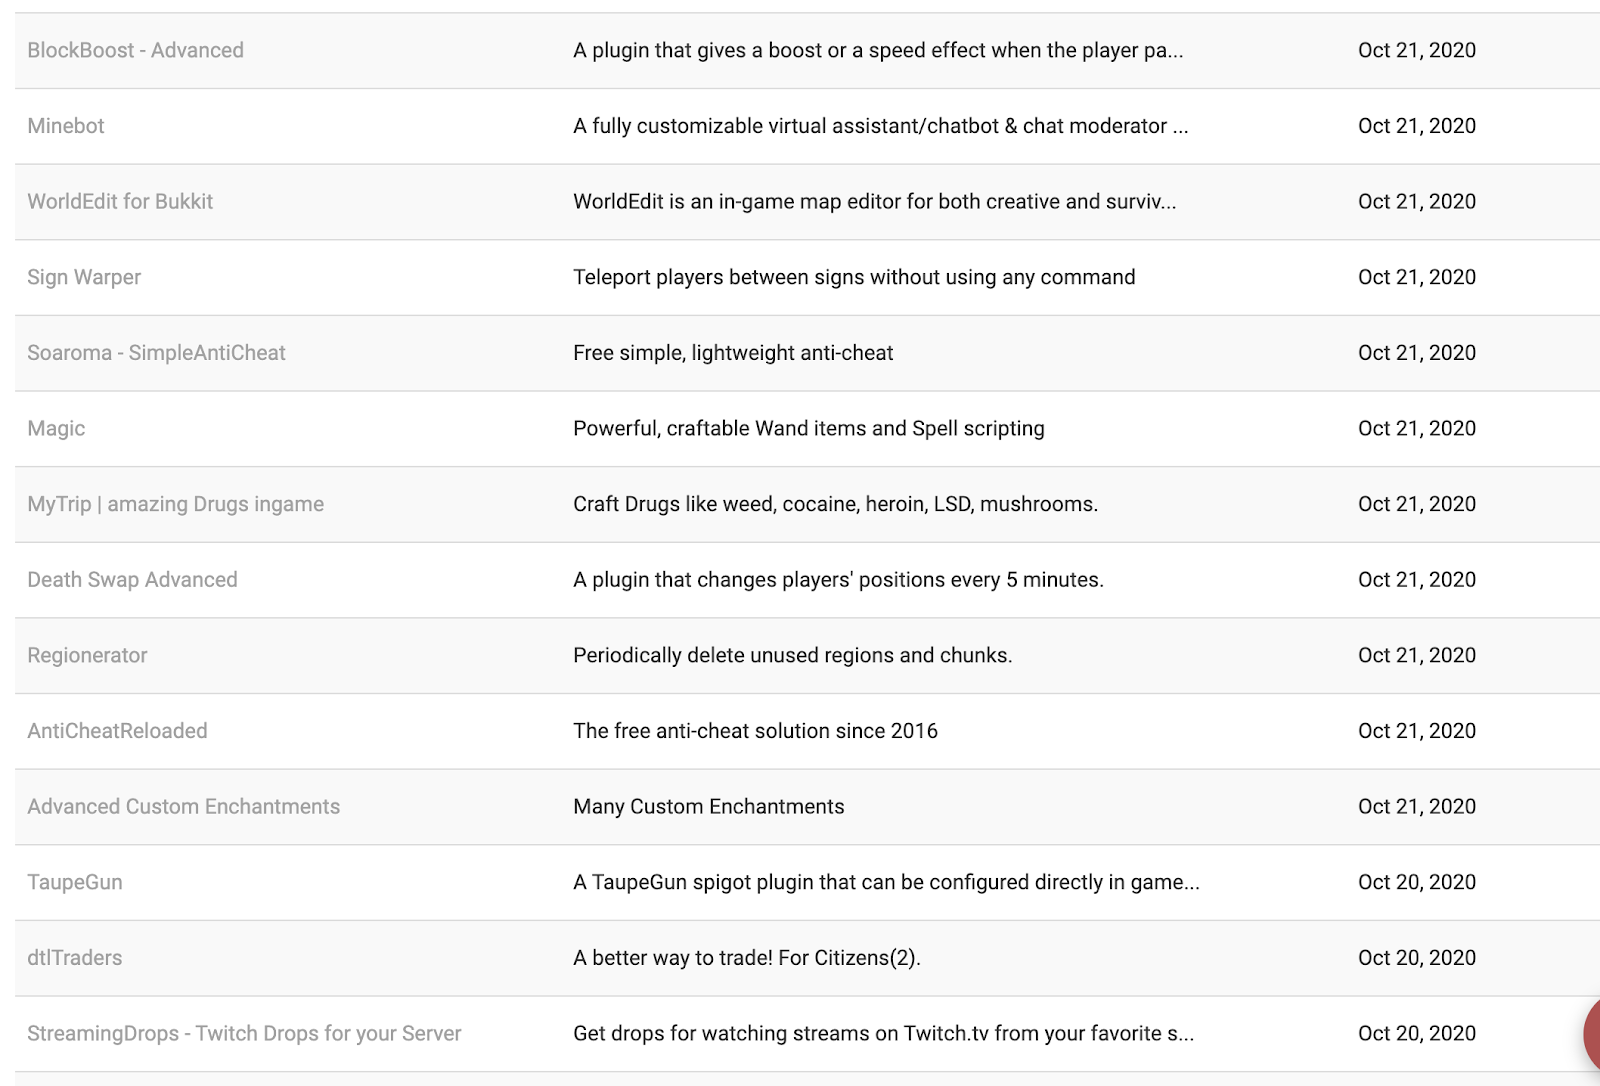
5. View Available Plugins
The “Plugin List” gives you many options to choose from that can all be included in your server. Just select the one you want, then click “Install”.
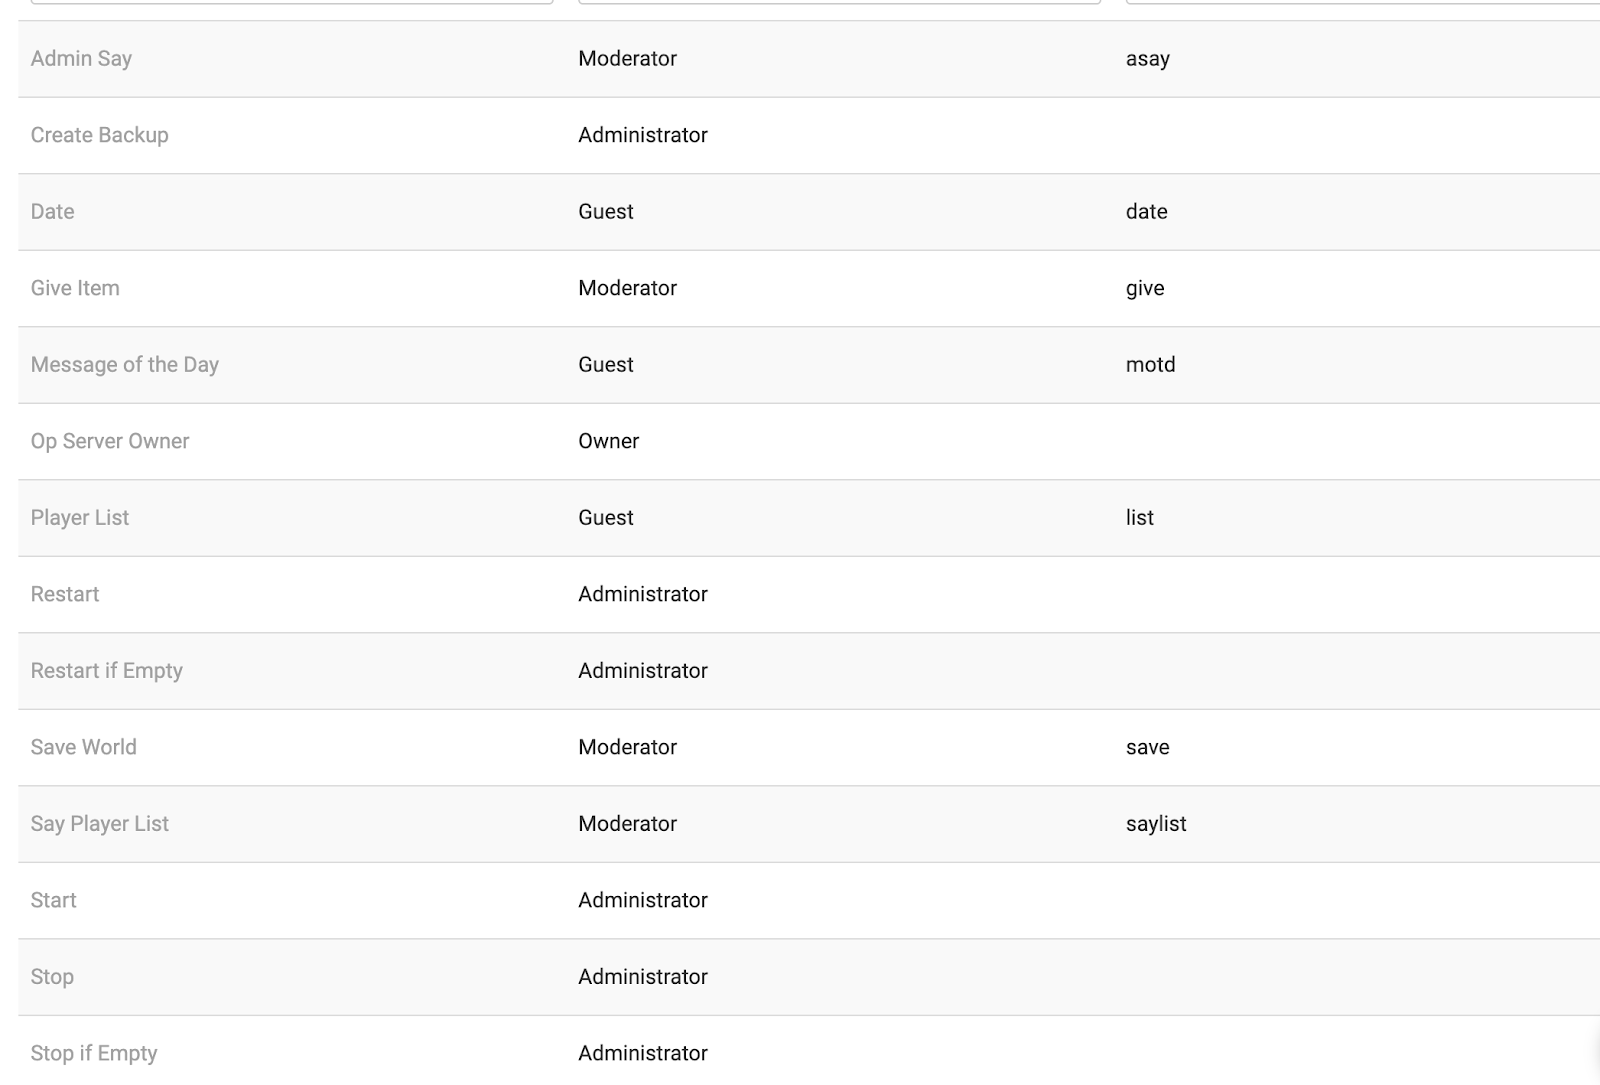
6. Use and Write Commands
Click on the “Commands” tab and you can see a list of commands you can perform as well as who can use them. You can even write your own commands here!
Enjoy Your 3rd Party Multiplayer Minecraft Server
We encourage you to play around with different server settings and see what you like. Just remember, the edits you make will most likely affect everyone playing on your server, so you want to make changes that everyone likes. Once you get your own server running, give us a shout out on our Discord Channel and we can come visit you!
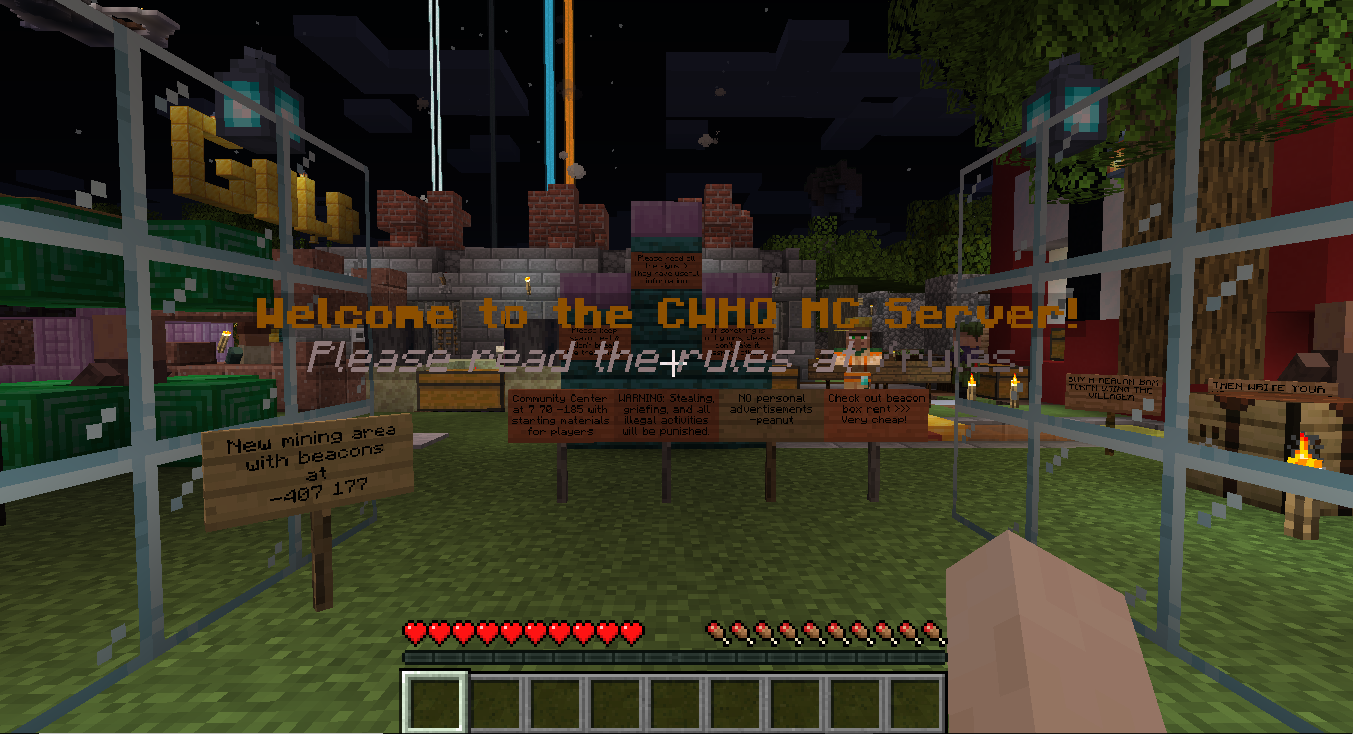
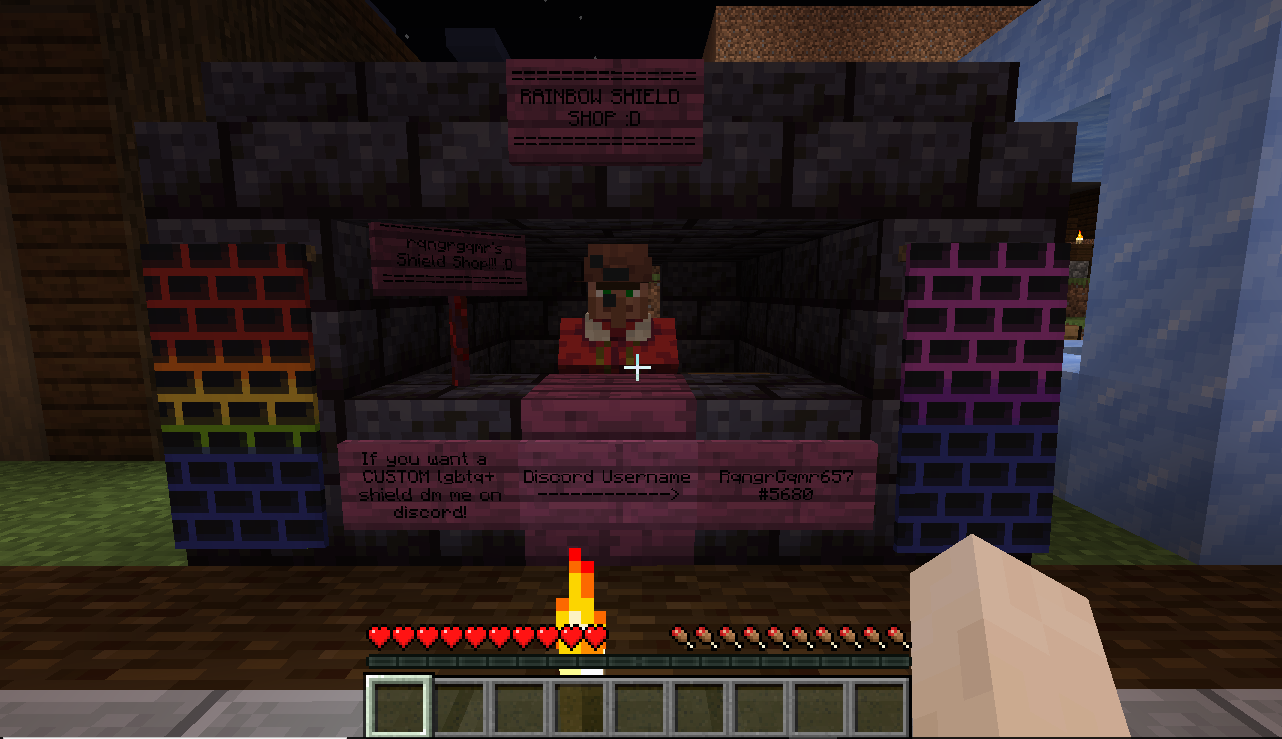
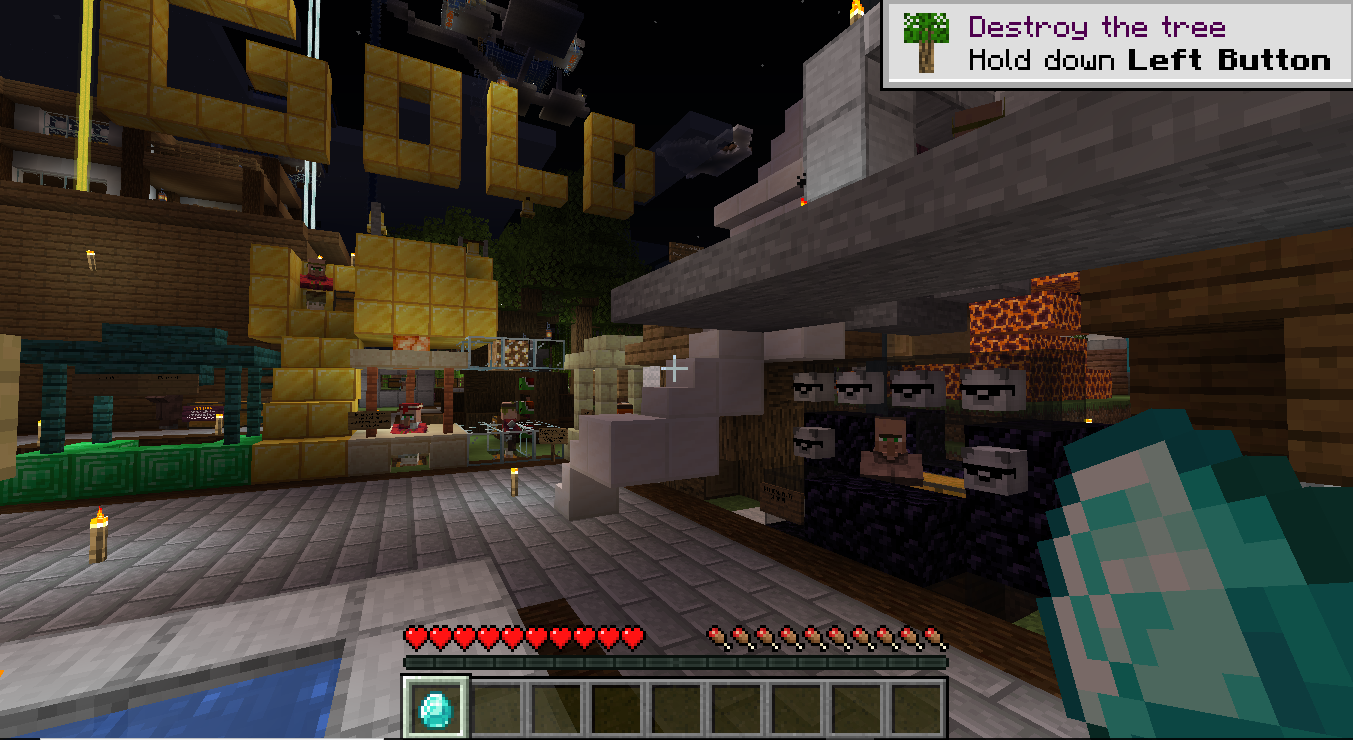
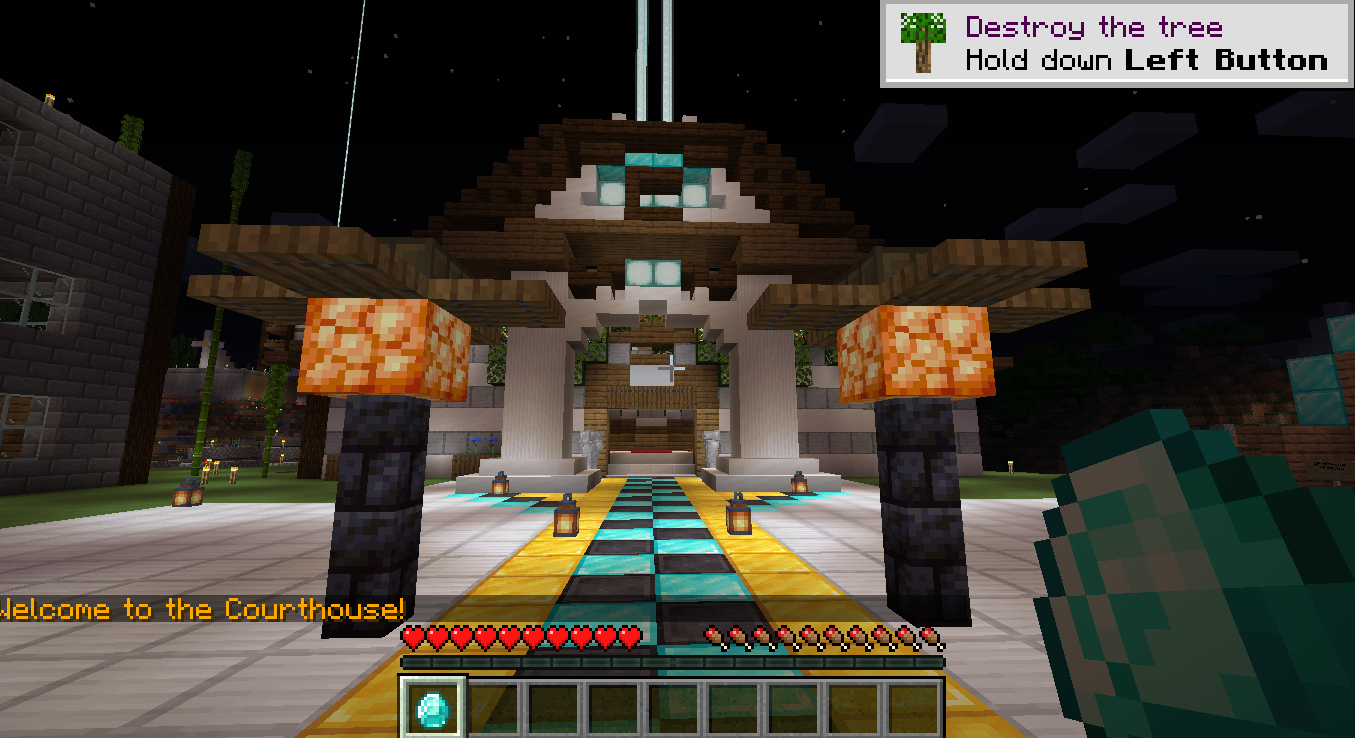
We’d also love for you to come and hang out with us on our Minecraft server! Our subdomain (server address) is mc.codewizardshq.com. You can also attach your Discord to our server for a couple of extra benefits. To do this you will have to verify your information by sending a direct message to CWHQ Minecraft Server#9605 on Discord and linking your CWHQ account using the pin code provided. Here are some things that we have going on currently in our server.